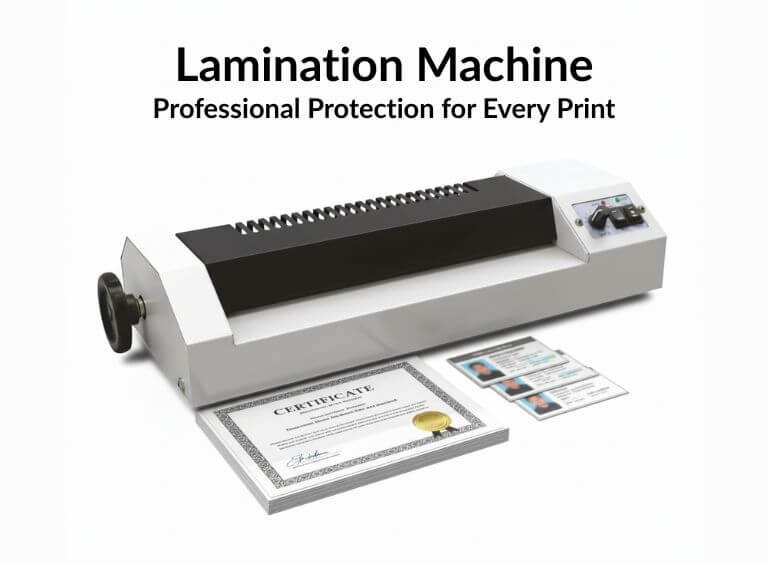
Lamination Machine – Professional Protection for Every Print
Introduction
Lamination plays a crucial role in enhancing the durability, appearance, and lifespan of printed materials. A lamination machine is an essential tool for print shops, offices, schools, and businesses that want professional-quality results. Whether you are laminating documents, certificates, photos, menus, or ID cards, a reliable lamination machine ensures smooth, bubble-free, and long-lasting protection.
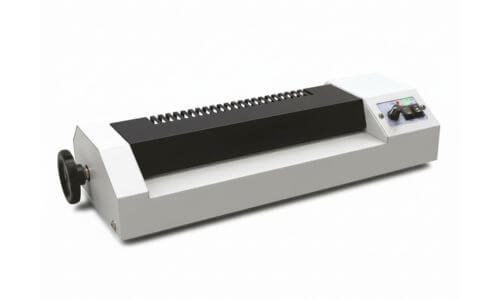
At Punjab Print Plus, we offer high-performance lamination machines designed for both hot and cold lamination, suitable for glossy and matte finishes.
Types of Lamination: Glossy and Matte
Our lamination machines support both glossy and matte lamination films.
- Glossy Lamination: Enhances colors, adds shine, perfect for photos and marketing materials
- Matte Lamination: Smooth, elegant finish, reduces glare, ideal for reading documents and premium prints
You can choose the finish based on your project requirements.
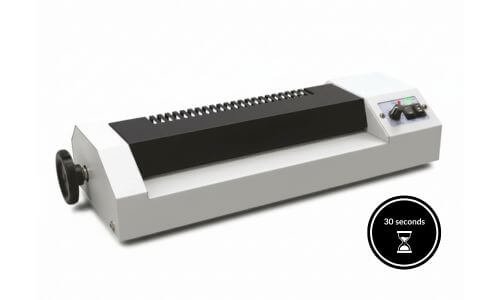
Turn On the Laminator and Let It Warm Up
Before laminating any document, turn on the laminator and allow it to warm up completely. Smaller laminators may be ready in as little as 30 seconds, while larger or professional machines can take 10 to 15 minutes to reach the correct temperature.
Most laminators are equipped with a power indicator and a ready or warm-up light. Always wait until the ready light turns on before inserting the lamination pouch. Laminators use heat to activate the adhesive inside the lamination sheets, and inserting a pouch too early may result in poor sealing, wrinkles, or bubbles.
Adjust Temperature According to Lamination Pouch Thickness
The lamination temperature should be adjusted based on the thickness of the pouch being used. Thicker lamination pouches require higher heat to properly activate the adhesive, while thinner pouches need less heat. Always refer to the temperature chart provided with your laminator to select the correct setting for the pouch thickness you choose.
Advanced or professional laminators may automatically adjust the temperature for different pouch thicknesses. However, basic or entry-level laminators often have limited or fixed heat settings and are designed to work only with thinner pouches. Some machines offer preset options such as 3 millimeter and 5 millimeter, making it important to use compatible pouches to avoid poor lamination or paper jams.

Hot and Cold Lamination Modes
Modern lamination machines support both hot and cold lamination, making them highly versatile.
Hot Lamination uses heat to seal laminating films, providing a strong and durable finish. It is ideal for certificates, ID cards, menus, and posters.
Cold Lamination works without heat and is perfect for heat-sensitive materials like inkjet prints, photographs, and vinyl sheets.
This dual-mode functionality ensures flexibility for every type of lamination job.
Forward and Reverse Function
The forward and reverse switch gives complete control during operation.
- Forward mode ensures smooth lamination flow
- Reverse mode helps quickly remove jammed or misaligned sheets
This feature protects documents and prevents wastage of laminating films.
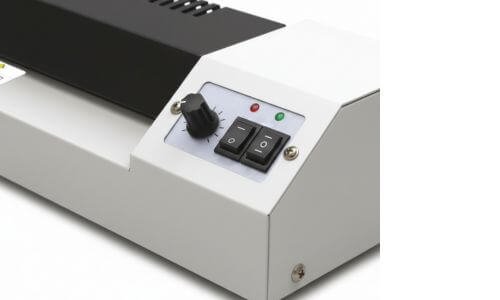
Power Light and Ready Light Indicators
Clear Power and Ready indicator lights make the machine easy to operate.
- Power light confirms the machine is switched on
- Ready light indicates optimal temperature for lamination
This helps avoid overheating and ensures perfect lamination every time.
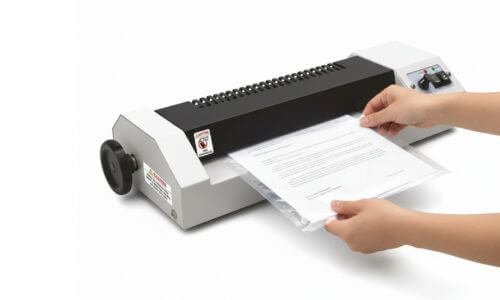
How to Insert Lamination Sheets Correctly
Correct insertion of lamination sheets is essential for achieving smooth, bubble-free results. Always place the document properly inside the lamination pouch before feeding it into the machine.
Insert the sealed (closed) side of the lamination sheet first into the machine. This prevents the film from opening inside the rollers and avoids jamming. Make sure the document is centered inside the pouch with equal margins on all sides.
For best results, allow the machine to reach the ready temperature before inserting the sheet. Feed the pouch straight and evenly without pushing it forcefully. Once laminated, let the sheet cool on a flat surface for a clean and professional finish.
Using the Release Button or Jam-Release Roller if Paper Jams
If the lamination pouch crinkles or enters the machine at an angle, it may cause a paper jam. In such cases, avoid letting the pouch pass completely through the machine.
Most lamination machines are equipped with a release or jam-release button. Press this button to disengage the rollers and gently pull the jammed pouch out. This helps prevent damage to both the document and the machine.
Some laminators may require you to switch off the power before removing jammed sheets, so always refer to the instruction manual for safe operation. Proper alignment while inserting the pouch can significantly reduce the chances of jamming.

Ideal For Multiple Uses
A lamination machine is perfect for:
- Print shops
- Offices & corporate use
- Schools & colleges
- Photo studios
- ID card & document lamination
Its sturdy build and smooth performance make it suitable for daily professional use.
Shop Lamination Machine at Punjab Print Plus
Protect. Enhance. Professionalize your prints with branded lamination machines.